Destiny 2 Should You Choose To Accept It Part 3: How To Complete

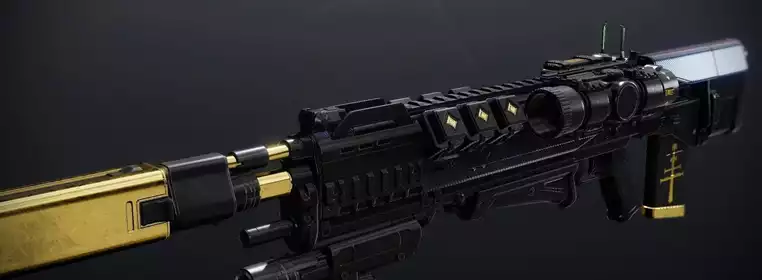
Destiny 2 Should You Choose To Accept It Part 3 continues the weekly quest for Revision Zero catalysts. Destiny 2's latest exotic weapon is breaking all the rules and may be the most customisable weapon in the history of the game.
Should You Choose To Accept It Part 3 is a quest with six steps, but nothing unfamiliar provided you have done everything up to this point. Here is everything you need to know to complete Destiny 2 Should You Choose To Accept It Part 3.
- If you haven't gotten around to it yet, check out our guide to learn more about the Destiny 2 Revision Zero exotic pulse rifle.
Destiny 2 Choose To Accept It Part 3: First Steps

 Click to enlarge
The first steps of this quest are simple, both in concept and execution. Once you have completed this week's story content, you need to go and speak to the Exo Frame in the H.E.L.M. This will give you the quest card and begin Should You Choose To Accept It Part 3.
The first step of the quest is to return to the Archimedes Annex, so go back to the H.E.L.M. map screen and begin the Warmind Launch Facility activity on the bottom right. Now you just need to complete Operation Archimedes as normal, and at the end of the mission you will get the next step of the quest.
The quest step says to travel to the EDZ and await further instructions, so do yourself a favour and head for the Trostland area. Once you are in the EDZ, you need to complete patrols and defeat enemies. The Trostland area is a pretty busy battleground, giving you plenty of ways to complete this step. The other reason we are here is that once that step is completed, we need to clear a nearby Lost Sector.
The Lost Sector in question is Terminus East. To get there, go to the far end of the church in the middle of Trostland from where you loaded in. At the rear exit of the church, turn right and you will see a broken shutter door with a Lost Sector symbol nearby. Head inside and clear it out. The chest at the end is in front of a shipping container, look to the right of it and you will see a cylindrical object. Interact with it to complete this step.
- To answer the most important question, here is how to activate the Good Boy Protocol and pet the mechanical dog in Destiny 2.
Destiny 2 Choose To Accept It Part 3: Seraph's Shield

 Click to enlarge
The last two steps of the quest involve Destiny 2 Operation Seraph's Shield, which we have an extensive guide to help you with. Unfortunately, it must be done on Legend difficulty to progress this quest. As such, we highly recommend bringing a friend or two with you and working together on this stage.
There are two quest steps to complete in Operation Seraph's Shield. The first one happens about halfway through, and tasks you with finding a weapon schematic. To find it, progress through the mission to get to the first major boss encounter. The room in question is huge and open, with orange and white floors.
You need to shoot the pile of explosive barrels in the centre of the room to begin the fight, but first we need to take a detour.
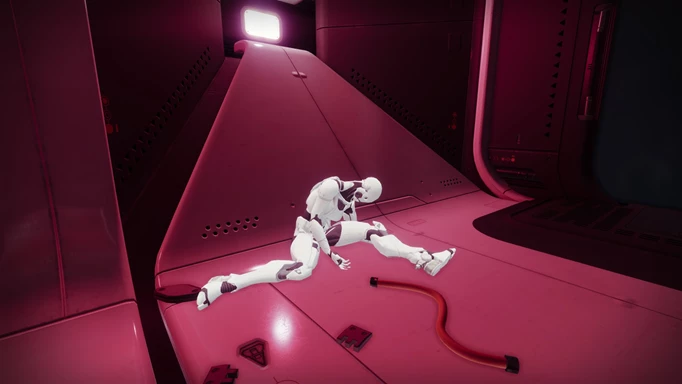
Before beginning the boss fight, go to the right from where you entered the room. The second door will be open, and inside you will see a dead Exo. Interact with it to receive the weapon schematic. Then we are on to the final step of the quest, which is to finish the mission.
Sadly, we cannot just get to the Exo and quit out, you need to complete the mission on Legend. When you pick up the rewards from the chests at the end of the mission, you will also receive your new Revision Zero catalyst, the Outlaw Refit.
That is it for the Destiny 2 Should You Choose To Accept It Part 3 catalyst quest. For more info on the upcoming expansion, check out our Destiny 2 Neomuna guide.