

Escape Academy The Breakout Walkthrough
Here's our walkthrough of the Escape Academy The Breakout level, which sees you aiding the Headmaster in a prison break.
Our Escape Academy The Breakout walkthrough will help you through this uniquely challenging level that puts you in a command centre as you guide the Headmaster through a ship to break out another escapist. This Escape Academy level is one of the toughest so far, really challenging your maths abilities and awareness. So if you need to know how to progress through the Escape Academy The Breakout level and help free Eel, read on.
Escape Academy The Breakout Walkthrough: Make Contact
The Breakout is contained in an office with a bunch of communications equipment, so as soon you load in, spend a minute getting familiar with all the things you can interact with.
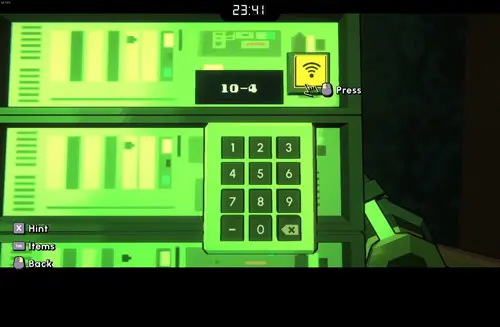
- As the level begins, the Headmaster will contact you and ask if you read her. Head to the large desk with the TV's and a radio in front of you. There is also a sheet on here with information on Radio Operator's Shorthand and how to communicate. Interact with the radio and input "10-4" to confirm that you're ready.
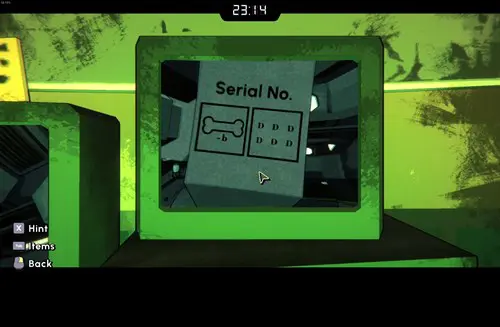
- The Headmaster will then enter the ship and come across a turret that pins her down. She will ask you to find the turret's serial code and send it to her, so she can disable it and move on. One of the screens will have a close-up of the turret, which is pictured above. The answers are: bone - b = 1, and six d = 60. Interact with the radio again and input "160" so the Headmaster can disable the turret.
- The Headmaster will move on some more and then ask you, "is there a computer terminal on the first deck?" You can have a look at the layout of the ship in a booklet on the left side of the room, and you should see that Deck 01 has no picture of a computer terminal. Interact with the radio again and input "10-10" for a negative response.
- After this, she will ask, "which deck is the computer terminal on?" Look at the layout booklet again, and you will find a computer terminal picture on Deck 02. Interact with the radio and input "2" and she will make her way there.
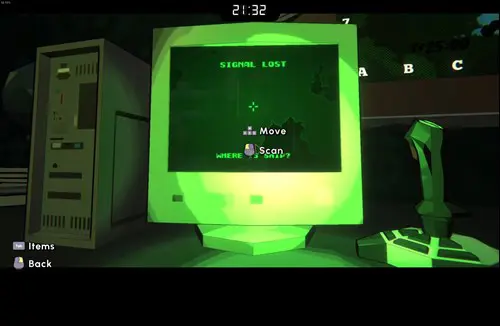
- As the Headmaster sets off, QUANTY (the little computer that's helping you out) will announce that the ship is on the move. This breaks the connection, so you need to relocate the ship using a computer on the right of the room. Look at the map above this and locate the square which has the coordinates of D3, as this is the second location after its starting location of B3. You can also use the clock above to see the current time, and cross-reference with the writing on the map. Use the machine to locate the D3 grid and select it, which will put you back into contact with the Headmaster.
Escape Academy The Breakout Walkthrough: Finding The Prisoner
- After the connection has been established again, the Headmaster will ask if the feed cut, so input "10-4" on the radio to confirm it did.
- She will then fax you some three pieces of information regarding the cell where Eel is located. You can find the fax machine on the left side of the room. The pieces of information read,
"DO NOT hold the subject on the same floor as a Trash Compactor. He would escape through chutes. Subject must be held between the mail room and the cafeteria. Subject must be held on a floor with an even number of cells, in Cell #3."
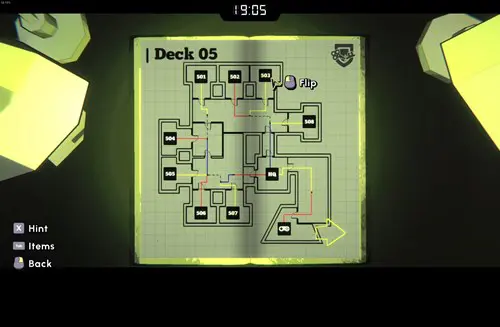
- Use these clues and cross-reference it with the layout booklet to find the location of Eel's cell. The cell is Deck 05, so input the code "503" into the radio, and the Headmaster will set off to find it.
Escape Academy The Breakout Walkthrough: Copy The Key
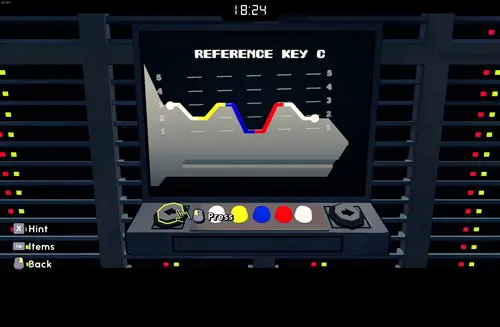
- A quick conversation will occur after this, and then the room will open up even more toward the sides and front, as the Headmaster asks you to create the code for Eel's cell key. You will need to analyse the lock by using the one of the TVs which has five different colours on it, and the console on the right side of the room with the key references for different cells.
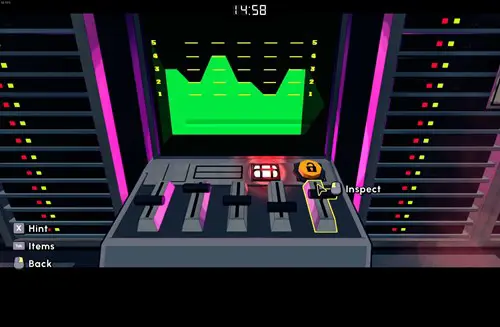
- From the key references, you can figure out that each colour represents a change in the key angle. Blue is down two spaces, red is up two spaces, whites is down one space, and yellow is up one space. Now, if you head to the console on the left side of the room, you can use a set of switches to make the cell key. Using the colour code for Eel's cell, and what colours change the angles, you need to make the key by going down one, up two, down two, down one, and up two. This is shown above.
- Once the key has been successfully made, a code for it will appear that reads "#24213." Go to the radio and input "24213."
Escape Academy The Breakout Walkthrough: Flip The Breakers
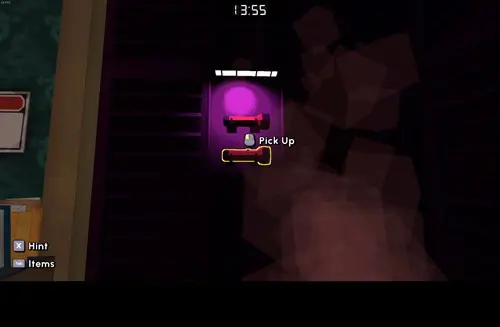
- When Eel escape from his cell, QUANTY will struggle to keep the power connected, and it will all go down. If you go to the left-back corner of the room, you can find a UV Flashlight that you can point toward the four clear signs across the room. They read, "NOT S. BOTH G AND C. EITHER A OR L. BOTH R AND H."
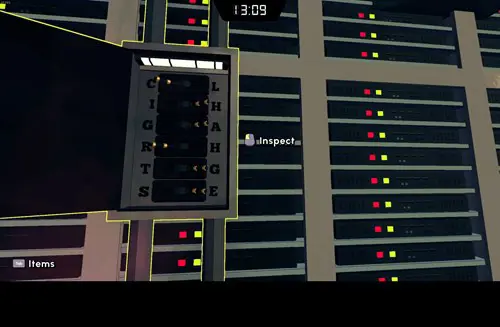
- Now if you go to the right corner behind the desk with the radio, you will find a set of switches with letters on each side. They can be flipped to the left or right, and using the clues you found with the UV Flashlight, you will need to find the right combination. Here is the solution: the first switch is C, second switch is H, third switch is A, fourth switch is R, fifth switch is G, and sixth switch is E. It also spells CHARGE. This will cause the power to turn back on.
Escape Academy The Breakout Walkthrough: Final Stretch
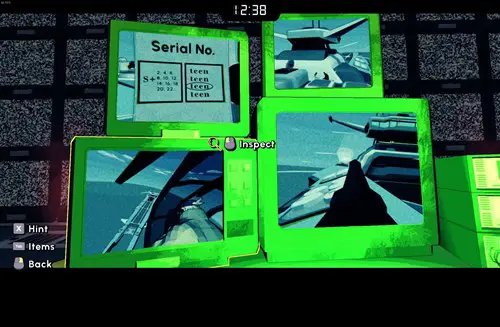
Once the power comes back, Eel and the Headmaster will be pinned down by multiple turrets. You will once again need to identify the serial number that is shown on one of the TV screens so it can be hacked. The answers this time are: S + even numbers = 7, and third teen = 13. Input the code "713" on the radio, and you will be given control of the turret. Use it to destroy the other turrets surrounding you, and this will finish the escape room, as Jeb comes and picks them both up with the chopper.
That's all for our Escape Academy The Breakout walkthrough, and now you know how to provide support to the Headmaster, so she can break Eel out of the anti-escapist's ship.

About The Author
Tarran Stockton
Tarran is a Senior Guides Writer at GGRecon. He previously wrote reviews for his college newspaper before studying Media and Communication at university. His favourite genres include role-playing games, strategy games, and boomer shooters - along with anything indie. You can also find him in the pit at local hardcore shows.


