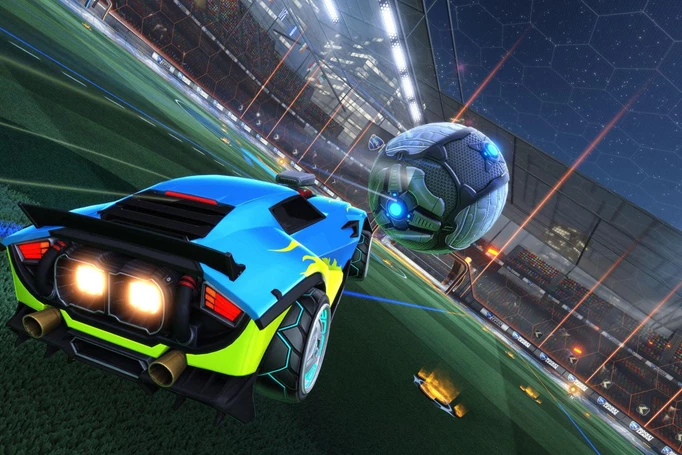
Best Rocket League settings for PC, PS5, and Xbox (Season 12)
")
Dialling in the best Rocket League settings is important to give yourself the best chance at winning. Rocket League is a highly competitive game, meaning every advantage you can get is vital.
The best settings will make sure you are playing at your best alongside everyone else in the game. Here are our recommendations for the best settings in Rocket League for Season 12.
- Check out everything new in Rocket League Season 12
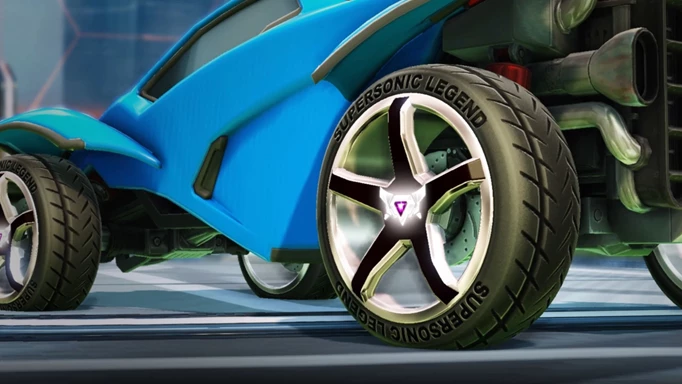
Best Rocket League Controller Deadzone settings
 Click to enlarge
Kicking things off, if you're going to get comfortable with Rocket League, you'll want to optimise the best controller settings. This will allow you to have the ideal movement sensitivity and deadzones to make your Rocket League gameplay as smooth as possible.
| Setting | Minimum/Maximum |
| Deadzone Shape | Cross |
| Deadzone | 0.05/0.10 |
| Dodge Deadzone | 0.50/0.70 |
| Aerial Sensitivity | 1.30/2.00 |
| Steering Sensitivity | 1.30/2.00 |
Your aerial and steering sensitivity will tend to match. This ensures that you can be as equally accurate on the ground as you are in the air.
- Check out the Rocket League rank distribution as it stands in Season 12
Best Rocket League Button Layout settings
 Click to enlarge
When it comes to the best Rocket League button layout settings, the main thing you're likely to be changing is the air roll default settings.
| Control | Button (PlayStation/Xbox/M&K) |
| Boost | Circle/B/Left Mouse Button |
| Jump | X/A/Right Mouse Button |
| Brake/Reverse | L2/LT/S |
| Powerslide | L1 or R1/LB or RB/Left Shift |
| Ball Cam | Triangle/X/Space |
| Throttle | R2/RT/W |
| Air Roll (Right/Left) | R1 or L1/RB or LB/Thumb Mouse Button |
While many players like to simply use LB for Air Roll Left and RB for Air Roll Right, others may opt to use X (Xbox), Square (PS), or Left Shift (Mouse and Keyboard) to activate their preferred direction.
Alternatively, they may have air roll locked until X, Square, or Left Shift is pressed before using their respective bumpers to directionally roll.
Best Rocket League Camera settings: FOV
 Click to enlarge
With a range of possible playstyles, offering up the best Rocket League camera settings is not an exact season. However, there are a few good guidelines you can learn from pros that will improve your performance and give you the basis for learning even more.
First up, you'll get the most success by maximising your field of view, allowing you to be able to have a good pan of the whole pitch.
Not only does a wider FOV give you a solid edge in keeping control of your car during ariels and dribbling, but it also helps in locating teammates and opponents to contribute to passing plays and clever defensive rotations.
The best Rocket League FOV settings range between 105 and 110, with the majority of players opting for the max of 110. Here are some of the settings top pros like to use:
- Firstkiller: 109 FOV
- Itachi: 110 FOV
- Atomic: 110 FOV
- Check out our recommendations for the best Rocket League input buffer settings
Best Rocket League Camera settings: Height
Click to enlargeMuch like the FOV settings, there's not too much wiggle room here if you want to have a very successful camera angle.
Here, the height of the camera typically affects aerial ability, especially when using the walls and air rolls, ensuring that your camera isn't being blocked by your car whilst also giving you a good overall view of the pitch in front and complimenting the third-person nature of Rocket League.
The best Rocket League height settings range between 90 and 110, with many pros and high-level players being right in the middle with 100, depending on comfortability. The following pros rock these height settings:
- Firstkiller: 100 Height
- Itachi: 100 Height
- Atomic: 100 Height
- We have the breakdown of all the information you need to know on Blueprints in Rocket League
Best Rocket League Camera settings: Distance
 Click to enlarge
When it comes to distance, this determines how far away your camera is from your car, and often comes down to preference. Having a comfortable distance will help your ball control at higher ranks, especially when dribbling on the ground and in aerials.
Most players opt for their Rocket League camera distance setting to be between 250 and 280, with 260 being the most popular setting used by RLCS pros and content creators.
However, some more abstract players will experiment with their distance going as high as 370 and as low as 190. Here is a selection of pro distance camera settings:
- Firstkiller: 270 Distance
- Itachi: 260 Distance
- Atomic: 260 Distance
- Here are our picks for the best Rocket League training codes for beginners and experienced players alike
Other Rocket League Camera settings
 Click to enlarge
When it comes to the other Rocket League camera settings, there is scope for experimentation, although they generally don't take much away from the in-game experience.
Camera Shake and Ball Camera options are a no-brainer, with all players at high ranks having these options turned to off and toggle respectively. As for Stiffness, Swivel Speed, and Transition Speed, these generally only affect how quickly your camera switches between ball and field camera, and how quickly it snaps on the ball.
Most pros have these set to similar ranges, although it depends on how comfortable you are using both camera settings; double-touch demons may prefer a quicker speed, whilst those who like to dribble may prefer it slightly slower.
Here are the best Rocket League camera settings for these less consequential settings:
- Camera Shake: Off
- Stiffness: 0.4 - 0.6
- Swivel Speed: 4.7 - 5.5
- Transition Speed: 1 - 1.3
- Ball Camera: Toggle
That is it for our Rocket League best settings guide. For more, head to our Rocket League homepage for guides like our Rocket League ranks and Rocket League codes guides.