

How to beat Maliketh in Elden Ring
The Elden Ring Maliketh boss is one of the most difficult late-game bosses with his multiple phases and extra damage effects.
This is part of the ‘Elden Ring’ directory
Directory contents
The Elden Ring Maliketh boss is one of the final main bosses of the game, meaning you will have to defeat him to progress to the final zone of the story. Over the course of Elden Ring, you will fight a plethora of bosses that come with wildly different aesthetics, movesets, and importance to the lore. Most of the main bosses are fairly important characters in the Lands Between, especially so for the Elden Ring Maliketh boss, who holds onto the rune of death. So, for a breakdown of how to defeat him, we've got you covered.
- We also have a walkthrough of how to deal with the game's hardest boss, so check out how to be victorious in the Elden Ring Malenia boss fight.
Where To Find Maliketh In Elden Ring
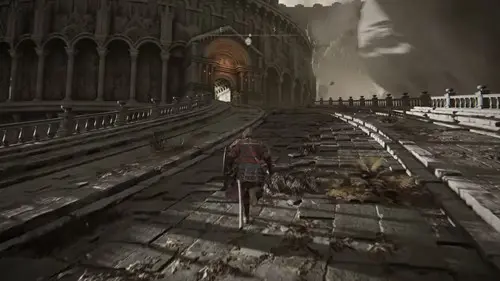
Maliketh is the main boss of the Crumbling Farum Azula legacy dungeon, which is located way out to sea in the east of the map.
To access this you will need to progress through the Mountaintops of the Giants and defeat the Elden Ring Fire Giant boss, which will allow you to set the Erdtree aflame. After this you will be teleported to Crumbling Farum Azula, where Maliketh can be found at the very end.
- We also have a list of all the Elden Ring achievements.
Elden Ring Maliketh Boss: Phase One - Beast Clergyman
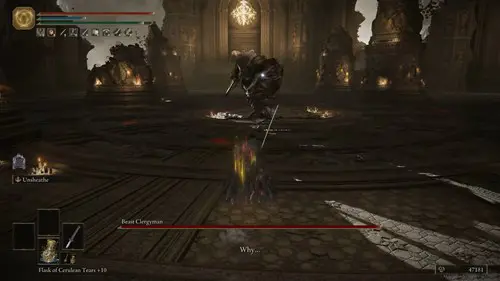
For the first phase of this fight, you will be fighting a Beast Clergyman instead of Maliketh's full form. This phase is a lot easier than the second, but once you've knocked him down to half-health, a cutscene will play and begin the second phase. We recommend using the Elden Ring Black Knife Tiche as a summon, as she deals a massive amount of damage while also possessing enough mobility to dodge and avoid most attacks.
The bleed status is also very useful here for bursting Maliketh down, so the Elden Ring Rivers of Blood can come in handy if you have managed to find it. Another useful item to grab is the Blasphemous Claw, which is dropped by the invader, Recusant Bernahl. This is a tool that is only used for the Maliketh fight and allows you to deflect the Black Blade during certain attacks so you can avoid the HP debuff effects.
Below are the attacks you will need to watch out for during the first phase, along with how to dodge or counter them.
| Attack | Effect | Counter |
| Side to Side Swipe | Swings sword in front of him, from side to side | Roll into or away from him |
| Forward Ground Stab | Lunges forward and stabs the ground | Roll to the side |
| Bestial Sling | He slings rocks from the ground toward the player | Roll into the rocks just as they are about to hit you |
| Bestial Sling 2 | Circles the player and jumps, then throws rocks at player once he lands | Roll into the rocks shortly after he lands |
| Bestial Sling 3 | Does Forward Ground Stab and then follows it up with Bestial Sling | Dodge to the side |
| Beast Claw | Raises his hand and then slams it into the ground, causing a shockwave after bringing it back up | Back up and roll through the shockwave as it comes close, or jump over it |
| Lunge Swipe |
Lunges toward you and slashes from his left to right side |
Dodge directly into his belly |
| Ground Rupture | He grabs the ground with both hands, causing huge rocks to crash down | The areas where the rocks will fall will have columns of dust, avoid these |
| Stone of Gurranq | Grabs a large boulder and chucks it straight forward | Dodge to either side |
| Quick Slash | Slashes in front of him quickly before black flipping away | Roll into the slash |
| Sword Drag | Stabs sword into ground and drags it around from right to left | Get close and roll leftwards into his butt |
| Gurranq's Beast Claw | Same as Beast Claw, but the shockwave travels in a circle | Jump over the shockwave |
| Slash and Stab | Quick slash ahead of him, followed by a forward stab | Dodge backwards and to the right |
Elden Ring Maliketh Boss: Phase Two - Maliketh, The Black Blade
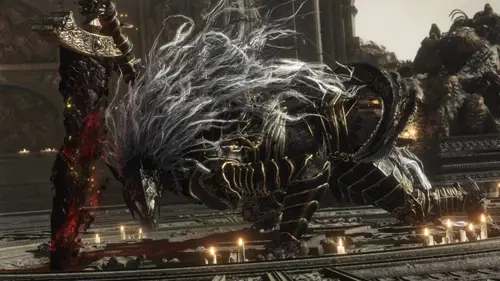
Once you get Maliketh to half health, he will begin the second phase and turn into his full form of Maliketh, the Black Blade. Any sword damage you gain in this second phase will deal additional damage over time along with reducing your max HP. Your summon will still come very hand in this phase of the fight, and your general strategy should involve using the pillars across the arena for cover from Maliketh's attacks.
There are less unique attacks to worry about in this second phase, but they deal a lot more damage.
| Attack | Effect | Counter |
| Flip and Smash | Opening move for this phase where he flips toward you and does a low sweep of the sword, sometimes followed by another | Roll through the slashes toward him |
| Piledriver | Jumps into the air and lands on the sword which causes an AoE explosion | Roll out of the initial slam as it lands, and quickly back up from the explosion |
| Black Blade | Backflips into the air and slashes his sword, causing blades to shoot at you | Wait for the projectiles to start travelling and then dodge to the side of them |
| Quick Black Blade | Quick flip that throws a single projectile blade | Roll through it |
| Roar | Roars and knocks players back | Block to reduce the distance of pushback |
| Destined Death | He slashes the floor ahead of him and follows with an overhead slam | Roll to the right to avoid the slash, and then roll to his rear for the slam |
| Destined Death Variant | Same as previous attack but he spins with the blade twice and then stabs the ground in front of him, causing a series of slashes | If he circles the blade after hitting the overhead slam, roll backwards |
| Double Spin | Spins around twice with the blade | Dodge backwards from the attack |
Many of the above attacks leave open chances to cause punishment to Maliketh, so continue hacking away at him once you avoid the attacks. Tiche should also deal a tonne of damage and provide a distraction through most of the fight, so we recommend summoning her. If his blade ever glows gold for an attack, this means the Blasphemous Claw can be used to stun him for a while and deal a lot of damage.
That's all for our breakdown of the Elden Ring Maliketh boss, and now you know how to deal with both phases of the battle, leading you ever closer to becoming Elden Lord.
Make sure to look where to find and use all Elden Ring Bell Bearings so you'll be able to purchase useful resources.

About The Author
Tarran Stockton
Tarran is a Senior Guides Writer at GGRecon. He previously wrote reviews for his college newspaper before studying Media and Communication at university. His favourite genres include role-playing games, strategy games, and boomer shooters - along with anything indie. You can also find him in the pit at local hardcore shows.
This is part of the ‘Elden Ring’ directory
Directory contents


