

Destiny 2 The Quarry: How to complete the Master/Legend Lost Sector
The Quarry Lost Sector on the EDZ is a great way to get yourself some fresh exotic armour, here is everything you need to know about it.
This is part of the ‘Destiny’ directory
Directory contents
-
Seasonal Artifact Mods
-
All Exotic Weapons & Armour
-
Best Prismatic builds
-
Campaign Mission List
-
Convalescence: Budding
-
Ending Explained
-
Episode Echoes Act 1
-
Episode Heresy Explained
-
Episode Revenant Explained
-
Ergo Sum Exotic
-
Every Prismatic Aspect, Fragment & Ability
-
Red Death Reformed
-
Wild Card Mission
-
All DLC & Expansions
-
Solstice 2024
Destiny 2 The Quarry is a Lost Sector in the EDZ, and a great way to unlock some new exotic armour. Destiny 2 usually adds new exotics with each season, but the only way to get new exotic armour is to complete lost Sectors on Legend or Master difficulty.
The EDZ is a great place for these as the lost sectors tend to be a bit easier there. Here is what you need to know to complete the Destiny 2 The Quarry Lost Sector on Master or Legend difficulty.
- If you are ever unsure as to what the current Lost Sector is, check out Destiny 2 Lost Sector today.
Destiny 2 The Quarry: Preparation
As with all Legend Lost Sectors, we have Match Game, Extra Shield and Locked Equipment to deal with. This means your equipment is locked once you begin the Lost Sector, more enemies have shields than usual, and using the wrong elemental type against enemy shields is very ineffective.
We have Unstoppable and Barrier champions here as well, so be sure to have the necessary perks equipped. Barrier champions can be defeated with Pulse Rifles, which are also effective against Phalanx shields. The Unstoppable Scout Rifle perk from the seasonal artifact pairs well with the Skyburner's Oath here, as it does extra damage to Cabal.
The burn for the Lost Sector is Void damage, so a Void heavy weapon like a machine gun would also be great here. Pair that with a Void subclass for extra void damage to really make the most of the situation.
Finally, the Scorched Earth modifier is active here. This has enemies throwing grenades far more often, so be on your toes and keep an eye out for incoming projectiles.
- For more tips on Lost Sectors, check out our broader Destiny 2 Lost Sectors guide.
Destiny 2 The Quarry: Strategy
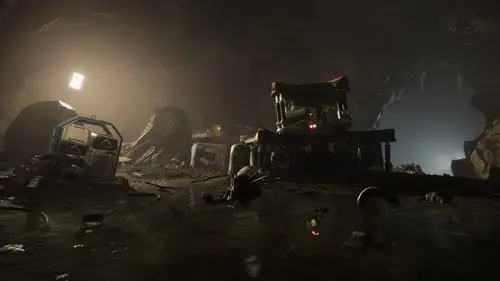
The Quarry is a fairly straightforward Lost Sector, just a couple of rooms with plenty of enemies in them. The last one can be tricky, but we'll get to that. At the beginning you start at the top of a slope, going down into a large open room.
Some enemies will be coming at you pretty much immediately, including an Unstoppable Champion. Take out the smaller enemies, then work on the champion from a distance. Once you move further down into the room you will be on top of a small cliff above where most of the enemies will be.
Aside from the rank and file, the main things to be concerned with here are the Incendior with the Void shield, and the War Beasts that pile into the room from the opposite side. A good grenade across the room will deal with the War Beasts.
Be sure to hit that Incendior's shield hard to get rid of him. Once clear, go to the right and some more enemies will spawn in. If you're quick, you can take out the Phalanx's before they have a chance to put their shields up.
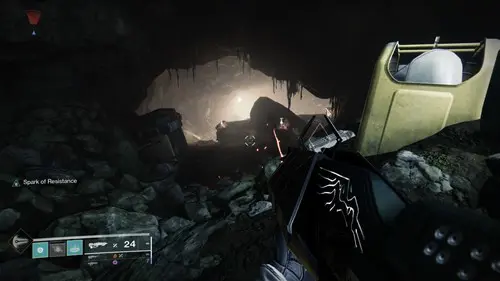
The room narrows into a small passage, there will be some Psions at the opening. Take them out, and any other enemies you can before entering. In this next small room, there is a Barrier Colossus above on the right, so do not charge in there. Instead, bait the Colossus into coming down by shooting nearby or quickly entering and exiting the room. Then you can take it out from a safe distance.
After this, we have to crouch through a small gap to enter the final room. As you enter, you only have a rock on your left for cover, or you can move further to the right. The boss will be opposite the entrance of the room, along with some more tough enemies.
As you move into the room, a Barrier Colossus will appear on the cliff to your left. Use that rock by the entrance as cover, whittle away at its health until it activates its barrier, then take down the barrier and finish the champion off.
At this point, I would recommend using the rock as cover to take out more enemies in the room, but as things get hotter, it is a good idea to retreat back through the way you came in.
From the gap at the entrance, it can be difficult, but you can get sight lines on enemies. Use that to take out as many opponents as you can from this safe spot. You should be able to clear out the majority of the enemies aside from the boss and the Nightmares.
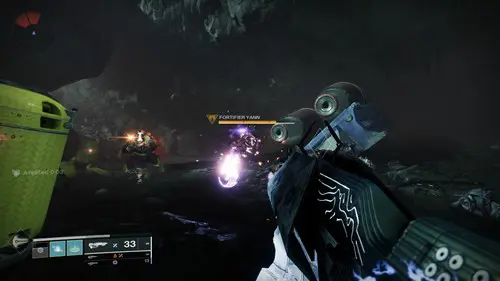
If you can take the Nightmares out from back here, all the better. Once the room is a bit quieter, you can move back in and use the space on the right as cover. The boss will move around a lot, constantly finding cover to get away from you. Just keep your distance and keep doing damage.
Once you have damaged the boss enough, more enemies will enter through the cave entrance at the back of the room. This includes another Unstoppable Champion and more Nightmares, so be prepared for that. It can be a good idea to back off to safety once more enemies appear, take them out from a distance, then get back to work on the boss.
Eventually, the boss and any still-living Nightmares will make their way up the ramp to the top of the cliff. You can either stay down below and attempt to take them out, but you are at quite a disadvantage. Instead, you can move up the ramp, and then use the ledge as cover while finishing off the enemies. Once the boss is dead, the chest will unlock and the Legend Lost Sector is complete.
That is everything you need to know to complete the Destiny 2 The Quarry Lost Sector on Legend or Master difficulty. For more on the game, check out our Destiny 2 Root of Nightmares walkthrough.

About The Author
Dave McAdam
Dave is a Senior Guides Writer at GGRecon, after several years of freelancing across the industry. He covers a wide range of games, with particular focus on shooters like Destiny 2, RPGs like Baldur's Gate 3 and Cyberpunk 2077, and fighting games like Street Fighter 6 and Tekken 8.
This is part of the ‘Destiny’ directory
Directory contents
-
Seasonal Artifact Mods
-
All Exotic Weapons & Armour
-
Best Prismatic builds
-
Campaign Mission List
-
Convalescence: Budding
-
Ending Explained
-
Episode Echoes Act 1
-
Episode Heresy Explained
-
Episode Revenant Explained
-
Ergo Sum Exotic
-
Every Prismatic Aspect, Fragment & Ability
-
Red Death Reformed
-
Wild Card Mission
-
All DLC & Expansions
-
Solstice 2024


